3D Printing
You know what is even better than visualizing your code base in 3D? Printing it in 3D! CodeCharta offers the possibility to export your 3D model and print it. This way you can have a physical representation of your code base.
Exporting 3D Model
Start by clicking on the print icon in the top left corner of the screen.

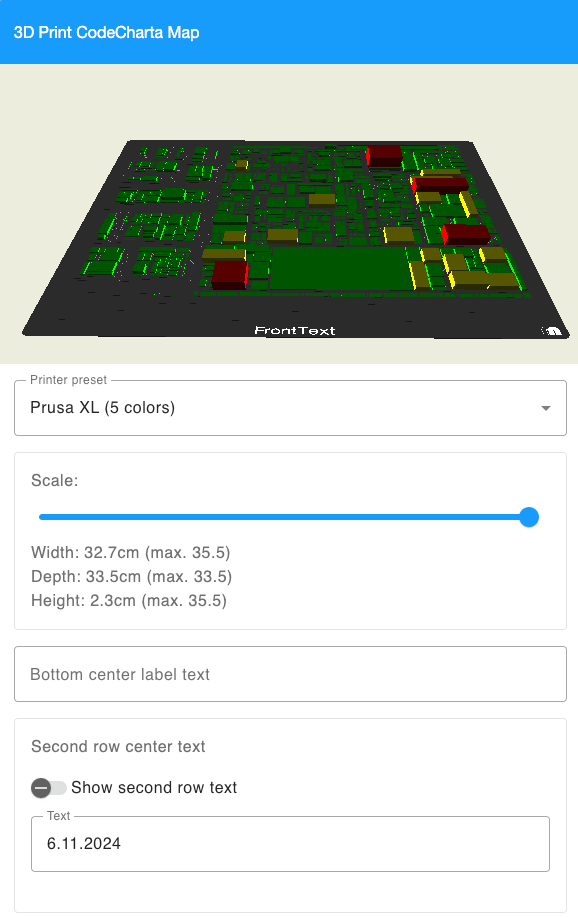
This will open up the following screen


Settings
All the settings can be changed and checked in the preview on top. Just play around with it until you are satisfied with the result. You can find an overview here.
Download
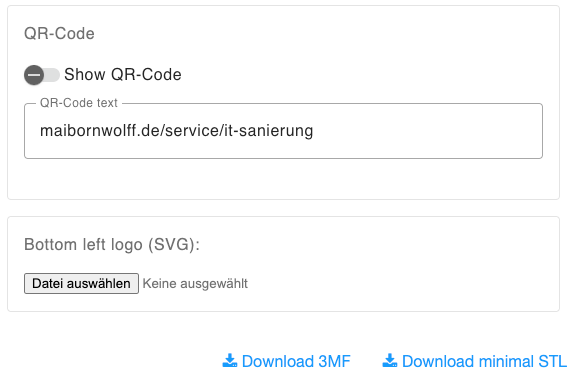
You can download it as a 3MF file, which can be opened in most 3D printing software. Or you can download it as an STL file, which is the most common file format for 3D printing.
Settings Overview
Printer Preset
You can choose between different printer presets. The presets are based on the printers we have at our company. Prusa MK3S (single color), BambuLab A1 + AMS Lite and Prusa XL (5 colors) click on each to see what changes in the preview window.
Scale
Depending on the size you want your 3D model to be, just slide it back and forth until you are satisfied.
Bottom Center Label Text
This is the text, that will be printed in the middle at the front of your 3D model.
Second Row Center Text
Need a second row of text? Just enter it here! It will appear right below the bottom center label text.
QR-Code
Under your map you can add a QR-Code. Just enter the URL you want to link to and it will be added to the bottom of your 3D model.
Bottom Left logo (SVG)
You can add a logo to the bottom left of your 3D model. Just upload an SVG file and it will be added.