Map Layouts
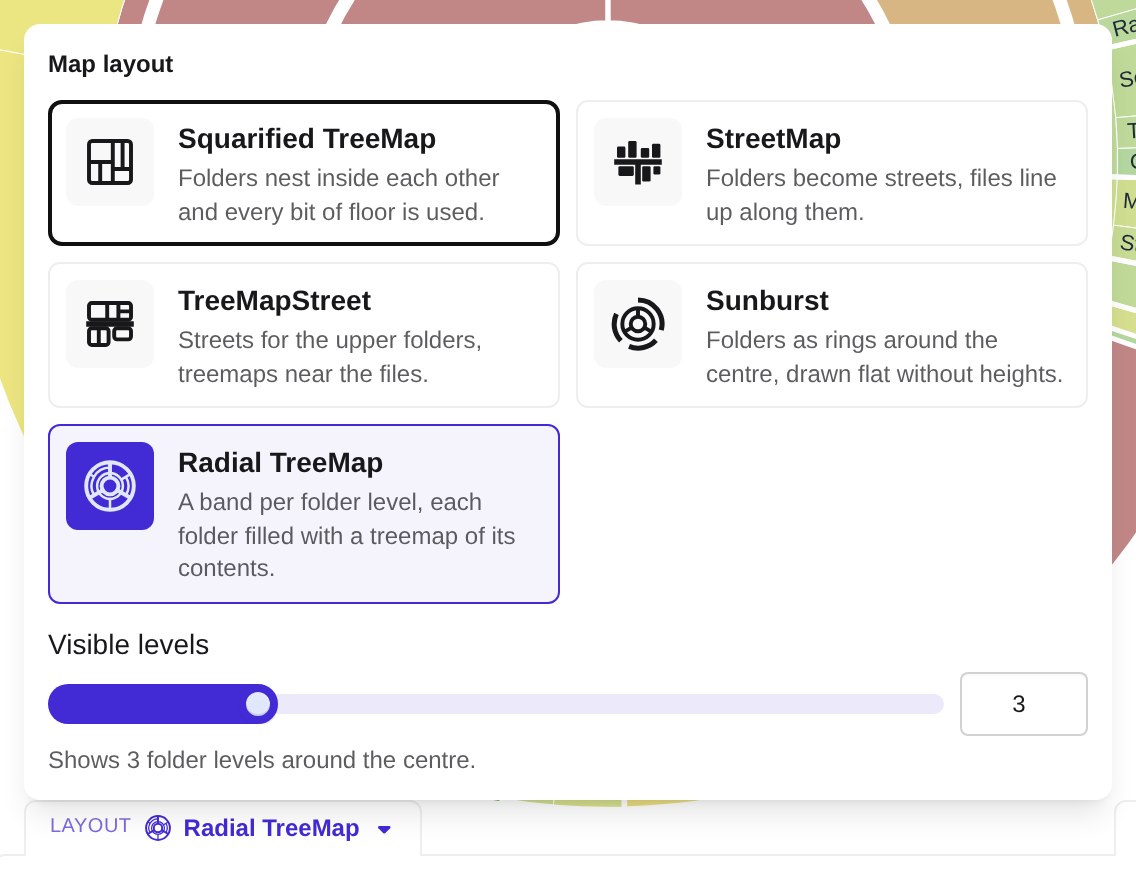
The Layout tab on the left edge of the metric bar names the current map layout. Click it to pick one of five:
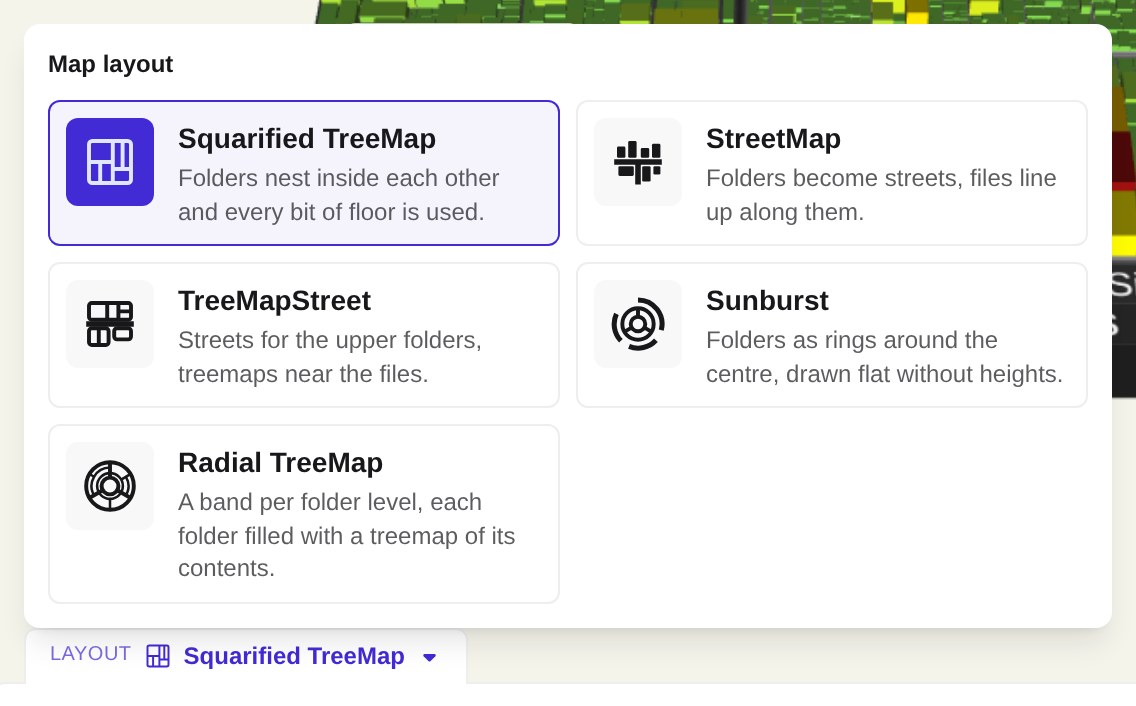
| Layout | What it draws |
|---|---|
| Squarified TreeMap | The default. Folders nest inside each other and every bit of floor is used. |
| StreetMap | Folders become streets, files line up along them. |
| TreeMapStreet | Streets for the upper folders, treemaps near the files. |
| Sunburst | Folders as rings around the centre, drawn flat without heights. |
| Radial TreeMap | A band per folder level around the centre, each folder filled with a treemap of its contents. |
The first three are 3D layouts: files are buildings with an area, a height and a color, as described on the Map page. The last two are flat, radial layouts and behave differently — see below.
By default the camera is reset when the layout changes; Reset camera when map layout changes in the Settings turns that off.
TreeMapStreet: Maximum TreeMap Files
Section titled “TreeMapStreet: Maximum TreeMap Files”When TreeMapStreet is picked, a Maximum TreeMap Files control appears under the layouts (a slider plus a number input, range 1–1000). Folders with up to that many files are drawn as a treemap; larger ones become streets.
Sunburst and Radial TreeMap
Section titled “Sunburst and Radial TreeMap”Both radial layouts show the folder you are in at the centre and its contents ring by ring around it. A segment’s size follows the area metric, its color the color metric.
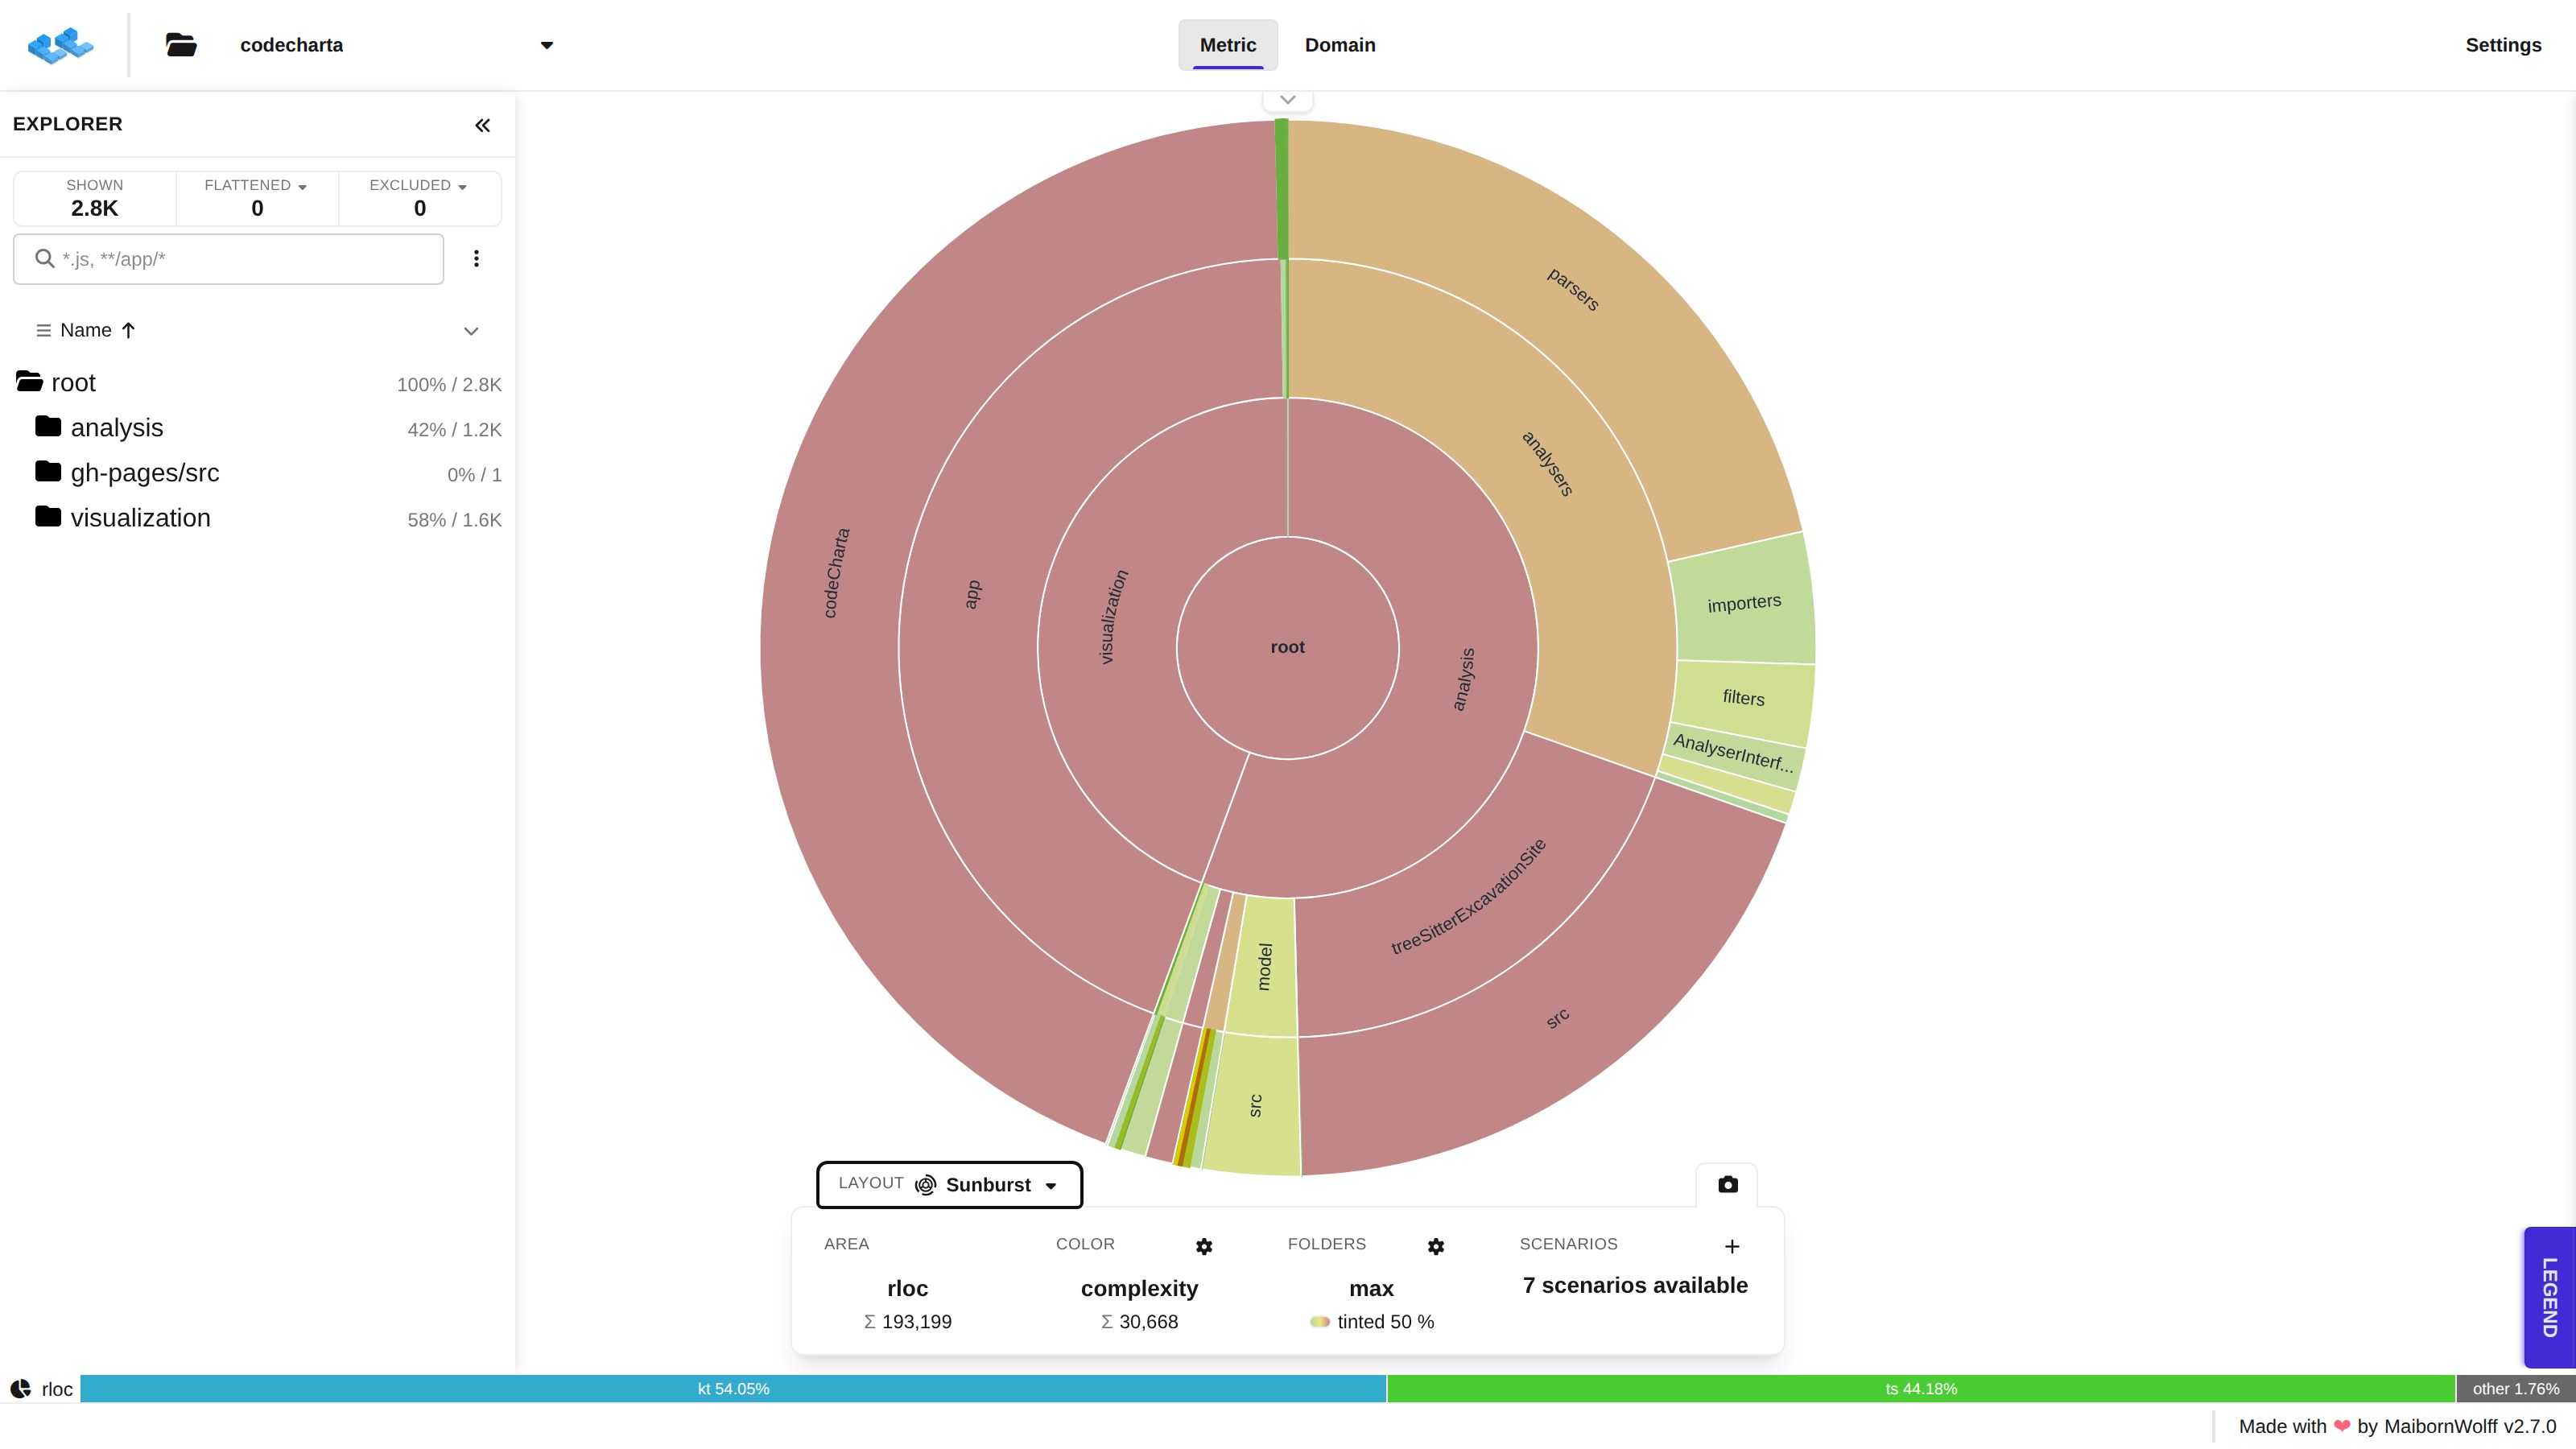
In the Sunburst, every folder and file is a slice of its ring. In the Radial TreeMap, each folder’s band is filled with a treemap of its contents instead of thin slices, which keeps small files readable.
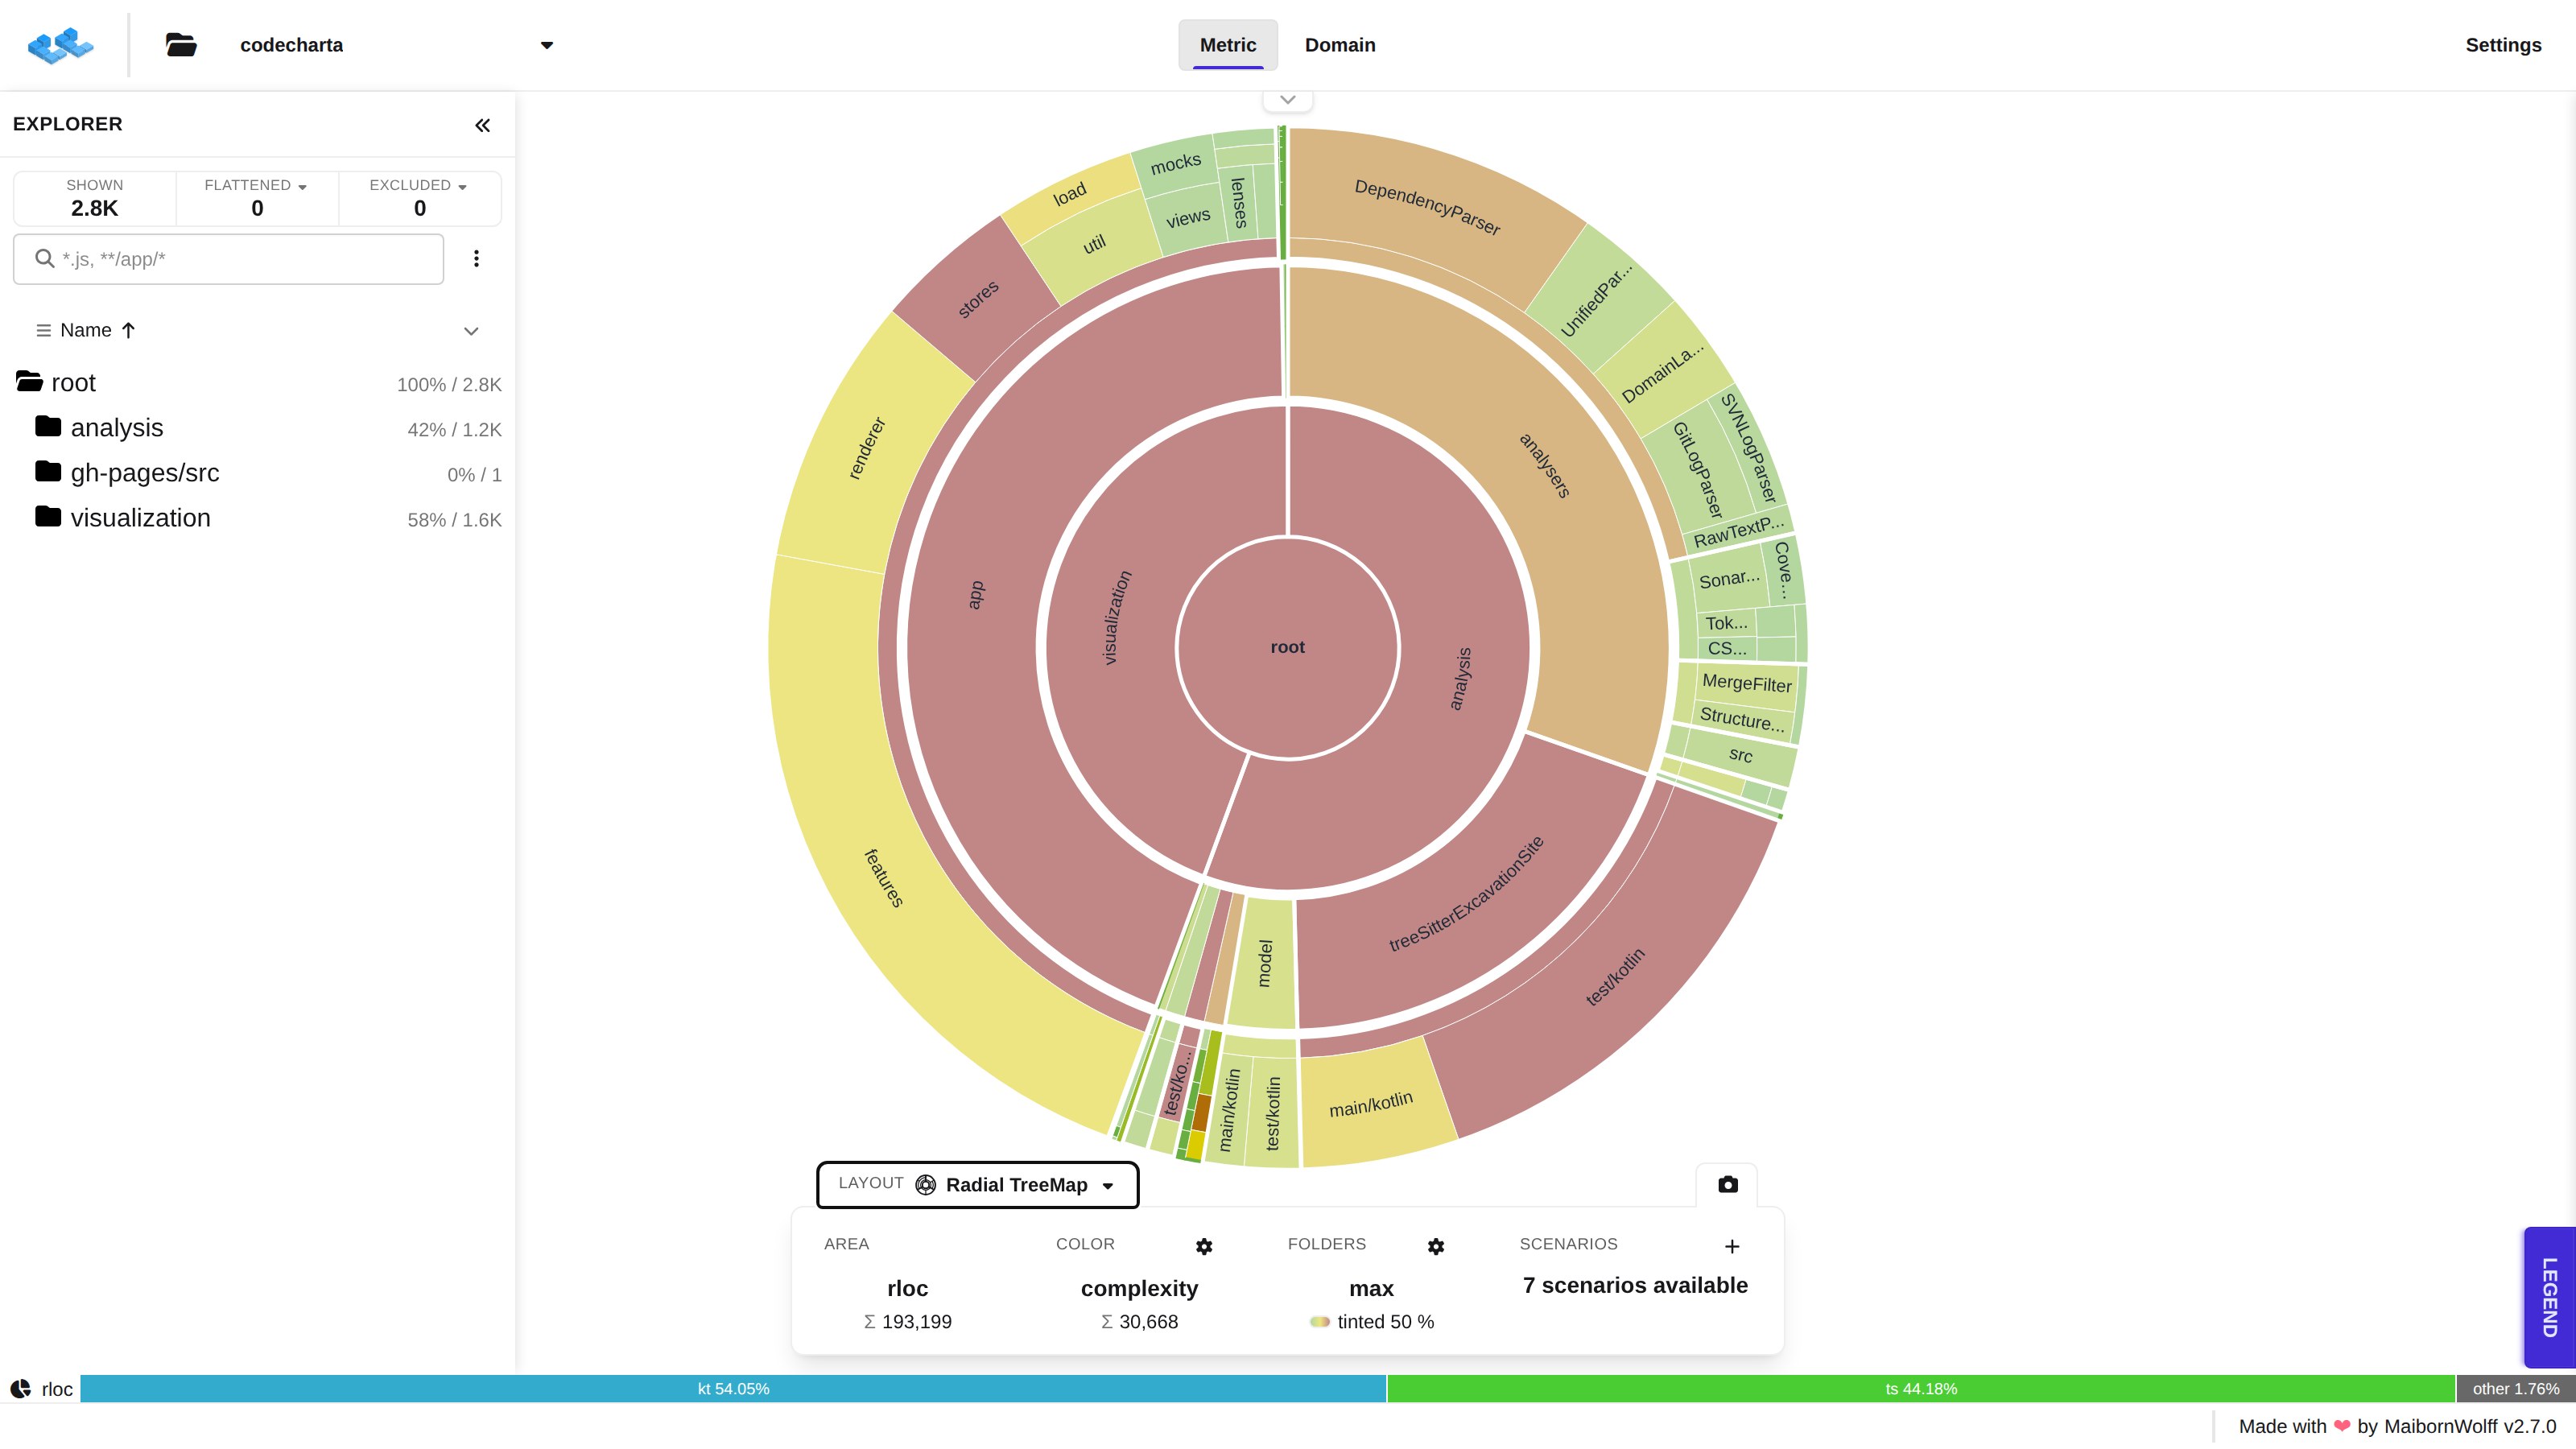
Navigating
Section titled “Navigating”- Click a folder to step into it; it becomes the new centre.
- Click the centre to step back out to the parent folder.
- Hover a segment to see its metrics and fade the rest of the map.
- Click a file to select it; it takes the selection color and opens in the Inspector.
- Right-click a segment for the same context menu as in the 3D map.
Searching in the Explorer greys out what the search misses, hovering a file type in the distribution bar lights up those files, and folders marked with a color keep that color.
Visible levels
Section titled “Visible levels”With a radial layout selected, the layout picker shows a Visible levels slider (1–10) that sets how many folder levels are drawn around the centre.
The metric bar in radial layouts
Section titled “The metric bar in radial layouts”Height, edges and labels do not apply to a flat layout, so the metric bar hides Height, the link button, Edges and Labels, and shows a Folders column next to Color. The map tools are reduced to Screenshot (and Unfocus), and Compare and 3D Print are not offered.
A file has one value of the color metric, a folder has many. The Folders column decides which one a folder’s color shows:
- Click the value (for example max) to choose how a folder’s value is derived from the files below it: their sum, maximum, minimum, median, or an average.
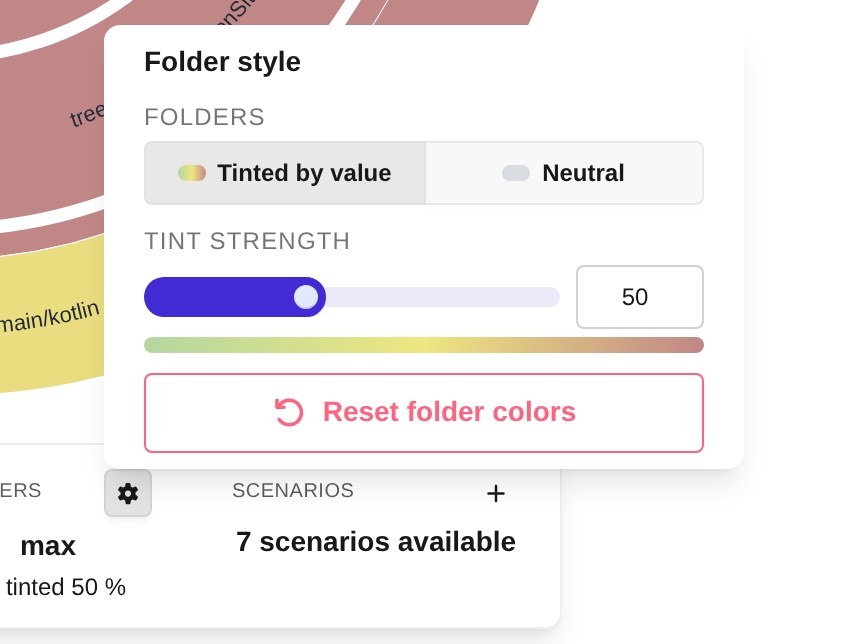
- Click the gear icon to open Folder style and choose between Tinted by value — folders take a lighter shade of the color their value maps to, with an adjustable Tint strength — and Neutral, which keeps folders grey so only the files carry color. Reset folder colors restores the defaults.